

How to Install SSL certification in Charles Proxy❓


This may be a long post, but I will try to explain how we can install the SSL certificate in the Charles Proxy application. But first, before we proceed to How we need to understand Why we need an SSL certificate at all and what the heck is this Charles.
Q: Why do you need an SSL certificate❓ Websites need SSL certificates to keep user data secure, verify ownership of the website, prevent attackers from creating a fake version of the site, and convey trust to users. If a website is asking users to sign in, enter personal details such as their credit card numbers, or view confidential information such as health benefits or financial information, then it is essential to keep the data confidential. SSL certificates help keep online interactions private and assure users that the website is authentic and safe to share private information with. More relevant to businesses is the fact that an SSL certificate is required for an HTTPS web address. HTTPS is the secure form of HTTP, which means that HTTPS websites have their traffic encrypted by SSL. Most browsers tag HTTP sites - those without SSL certificates - as "not secure." This sends a clear signal to users that the site may not be trustworthy - incentivizing businesses who have not done so to migrate to HTTPS.
An SSL certificate helps to secure information such as:
• Login credentials • Credit card transactions or bank account information • Personally identifiable information - such as full name, address, date of birth, or telephone number • Legal documents and contracts • Medical records • Proprietary information
Q: What is Charles Proxy❓ Charles is an HTTP proxy / HTTP monitor / Reverse Proxy that enables a developer to view all of the HTTP and SSL / HTTPS traffic between their machine and the Internet. This includes requests, responses, and the HTTP headers (which contain the cookies and caching information).
Now comes the topic of the day, How to install SSL Certificate in Charles Proxy❓ Pre-requisite: You need to have Charles Proxy installed in your system, if not then go to its official website and do the needful.
Now once you have gone through the pre-requisite you need to open the application
Click on help from the main menu and hover over SSL Proxying
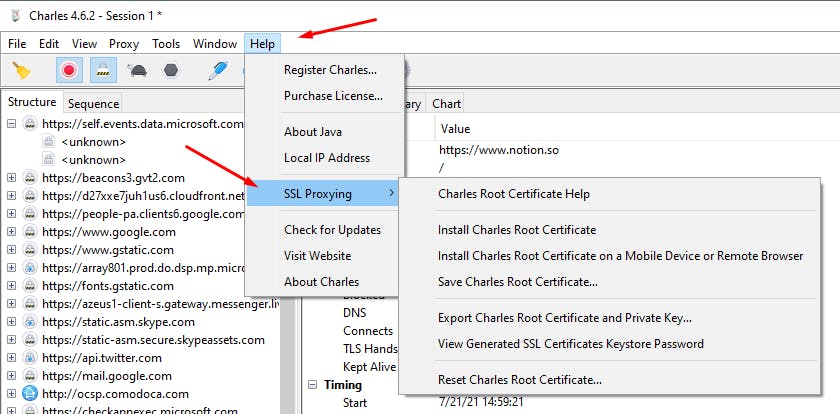
Now click on Install Charles Root Certificate
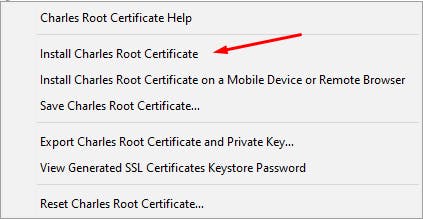
Now a certificate window will open and click on Install Certificate

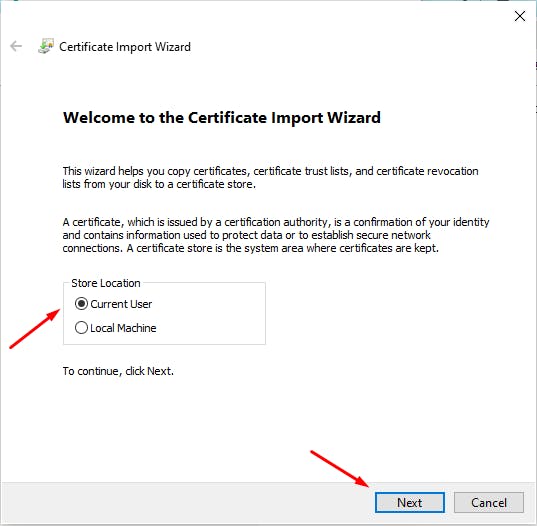
Keep the Current user selected and click on the Next button
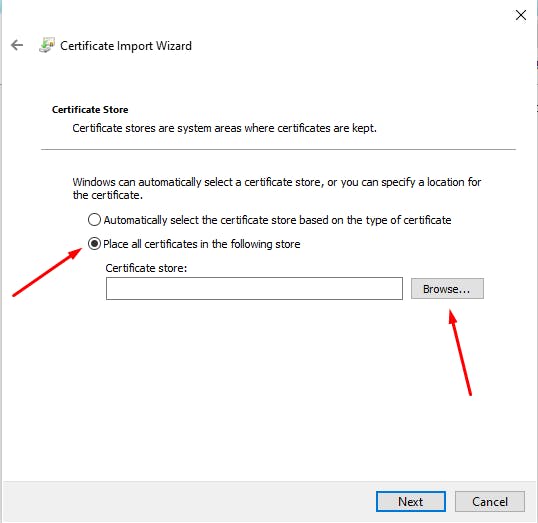
Now in the Certificate Import Wizard window, you need to select the second option and click on Browse…
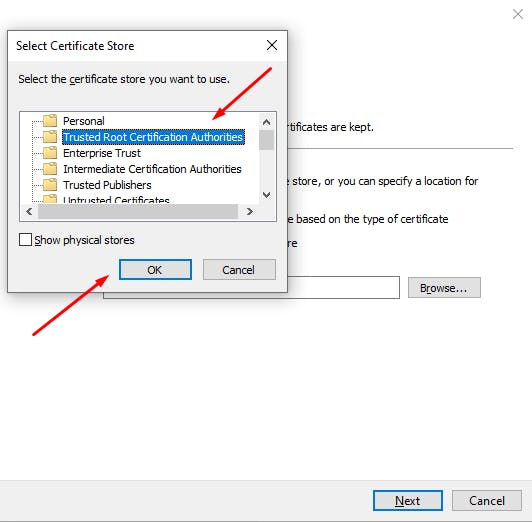
Now select Trusted Root CA from the Select Certificate Store window
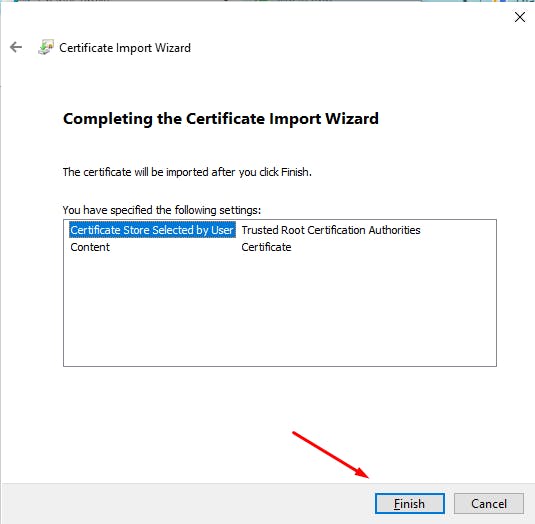
And Finally, click on the Finish button to import successfully
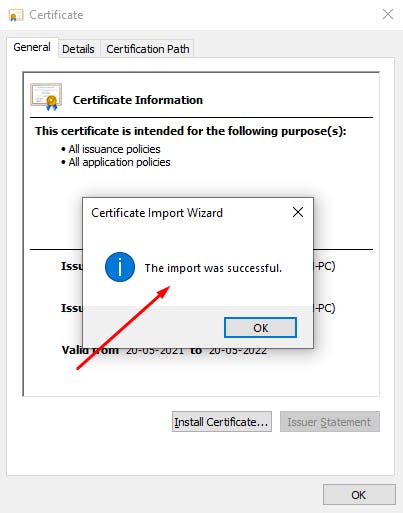
Cheers you have now imported the SSL Certificate successfully!!
Thanks for reading.